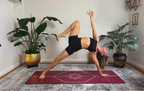
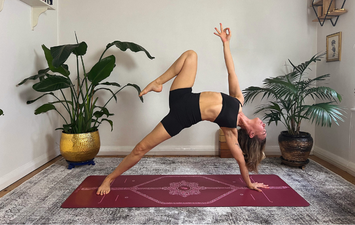
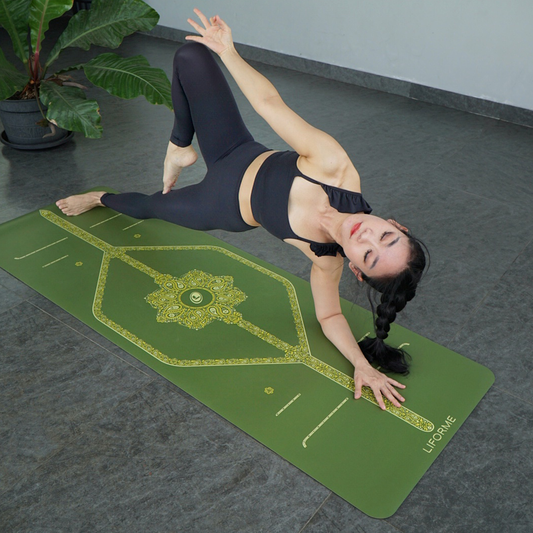
Yoga abounds with forward bends and backbends but the opportunity to stretch and open your side body and the intercostal muscles between your ribs should not be overlooked. Extended Side Angle Pose offers just that opportunity, along with the chance to improve your awareness of hip alignment and open your chest. It’s a real multi-tool of a pose.
Extended Side Angle Pose Basics
Sanskrit Meaning: Utthita (Extended) Parsva (Side) Kona (Angle) Asana (Pose)
Yoga Level: Beginner
Pose Type: Standing
Benefits: Strengthens and stretches your legs. Stretches the side body and intercostal muscles. Opens your chest and shoulders. Creates rotation in the abdomen.
Props: A block can be really handy.
Key Alignment Cues to Keep in Mind
1. Hips Face the Side in the Open Position
In any standing pose, the first order of business is to figure out the orientation of the pelvis: is it front-facing or side-facing? In this pose, it’s side-facing, which is the same position as Warrior II.
2. Stack Your Front Knee Over the Ankle
Warrior II is also your reference point for knee-over-ankle alignment in your front leg. Sometimes this gets lost when you start to move your upper body, so make sure to check back in on your knee once your torso is situated.
3. Prioritize Opening Your Chest
People often think the object of this pose is to get your bottom hand onto the floor, but that can cause your chest to turn toward the floor, which is the exact opposite of what you want. Instead, take your hand onto a block or your front thigh to allow your chest to blossom open freely toward the ceiling.
Step by Step Instructions
1. Begin in Warrior II position with your right leg forward.
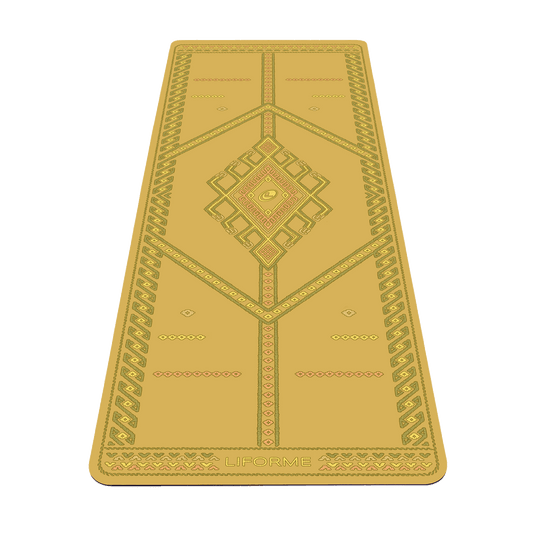
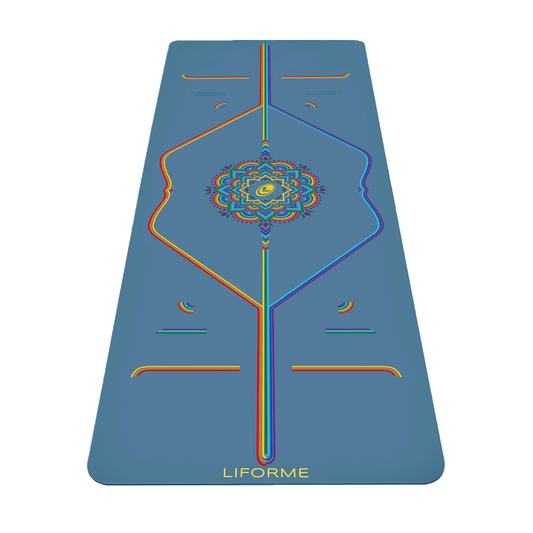
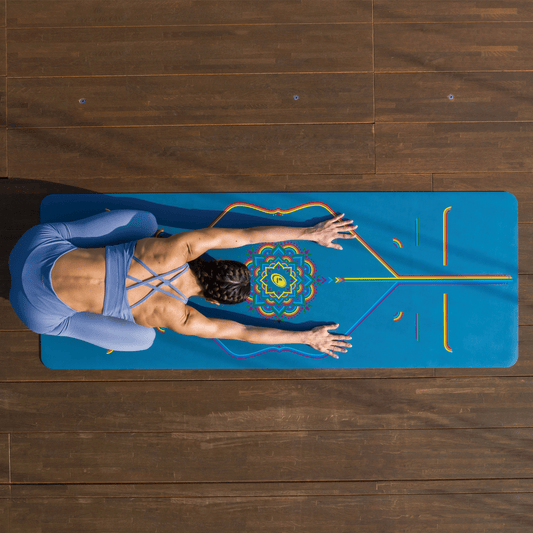
2. Use the Central Line to make sure your front heel lined up with your back arch.
3. Keeping your front knee bent, reach your right arm forward.
4. Bring your right forearm to rest on the top of your left thigh with the right palm facing upwards and fingers bright.
5. Open your chest and bring your left arm and your gaze toward the ceiling.
6. If it doesn’t compromise the open rotation of your chest one bit, you can choose to instead bring your right hand (palm flat or on fingertips) to a block or the floor inside your right foot.
7. Drop your left arm over your left ear so it’s parallel to the floor.
8. Keep grounding in your left foot throughout.
9. After several breaths, repeat the pose on the other side.
Variations Related Postures

Bound Side Angle Pose (Baddha Parsvakonasana)
1. From Extended Side Angle, drop your left arm behind your back.
2. Lift your right hand away from the floor and bring it under your right thigh.
3. Hold onto your left wrist with your right hand and use that traction to open your chest toward the ceiling.
4. Keep your right knee over your right ankle.

Revolved Side Angle Pose (Parivrtta Parsvakonasana)
1. From Warrior II, lean your torso forward and twist to the right to bring your left elbow to the outside of your right knee.
2. Bring your hands to Anjali Mudra and use the traction between your right thigh and left arm to deepen your rotation and bring your hands to heart centre.
3. Turn your gaze upwards.
4. Keep your right knee stacked over the ankle and your left heel grounded to the mat.
Side to Side
Extended Side Angle is one of those wonderful poses that offers variations for any level of yoga and can grow with you as your practice develops. It also feels great to stretch from your heel up to your fingertips, so take the time to work into this posture whenever you get the chance.