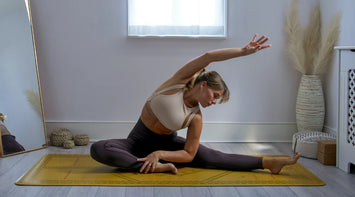
What is the role of your butt in backbends?
Wheel Pose and other yoga backbends were once most commonly taught with the instruction to keep your butt muscles soft. The idea behind this cue is that if you clench your glutes tightly, it compresses the sacrum and lower back, limiting the range of your spinal extension. However, recently, the hive mind has started thinking differently about using the glutei maximi to press up the hips. The glutes are the biggest muscles along the back body and using them helps activate the strength of the posterior chain to lift the heavy pelvis. Firming your butt also helps stabilise the sacroiliac joints, which can be a source of pain for hypermobile yogis. We like the middle way here, in which you use your glutes to press up and then keep them toned but not clenched while holding the pose. We find this provides a good balance of support and mobility, but as every body is different, you may prefer to use a different method. Try several on for size and see what works for you.
Benefits of Wheel Pose
- Strengthens the muscles of the legs, buttocks, arms, and back.
- Opens the chest and stretches the wrists and abdominals.
- Improves spinal mobility.
- Counters the effects of sitting.
Instructions
- Come to lie on your back with your knees bent toward the ceiling and the soles of your feet flat on your mat and close to your butt. Take your feet hips’ distance apart or a little wider.
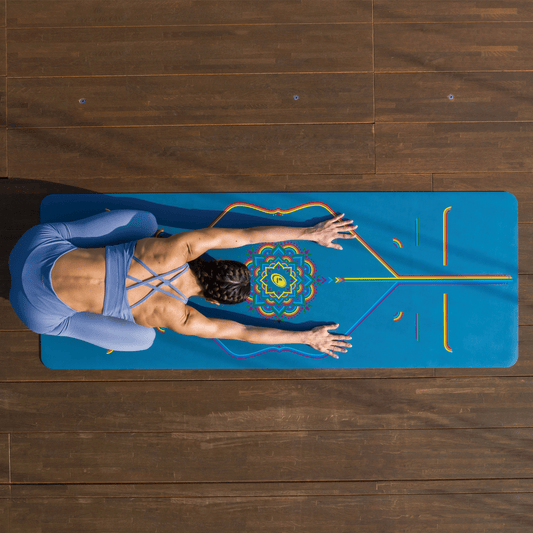
- Bend your elbows toward the ceiling and bring the palms of your hands flat on your mat on either side of your ears with your fingers pointing toward your feet. Take your palms shoulders’ distance apart or a little wider. Traditional yoga alignment has been quite strict about keeping the feet and hands hips’ and shoulders’ distance apart, respectively. While this is still a good rule of thumb, many contemporary teachers allow that taking the hands and feet a little wider here can make this posture more comfortable and accessible without sacrificing its integral structure. The Reverse Points on your Liforme Yoga Mat’s Align-For-Me system can help you adjust your hands so they are evenly spaced.
- Engage your buttocks and press into your hands and feet to lift your pelvis off the mat, bringing the crown of your head to the floor.
- Take this pit stop to make sure your elbows are over your wrists and your feet are still parallel to each other. Make any necessary alignment adjustments and firm your shoulder blades onto your back before proceeding.
- Straighten your arms to lift your head off the floor and your pelvis toward the ceiling. Some people like to go up on an inhalation of breath for extra lift while others prefer to go up on an exhalation for extra power.
- Notice if your knees want to splay outwards. Keep your knees over your ankles by imagining that you are squeezing a yoga block between your knees (or take yoga block between your knees before you press up if this feeling isn’t familiar).
- Keep your feet as close to parallel as possible.
- Draw your shoulder blades onto your back and blossom your chest open.
- Let your head hang heavy.

- If you feel stable and want to try a One-Legged Wheel (Eka Pada Urdhva Dhanurasana), shift your weight into your right foot while keeping the pelvis in a neutral position (don’t allow it to tip to one side). Lift your left foot and draw your knee in towards your chest. Straighten your left leg and flex your left foot towards the ceiling. After several breaths, bend your knee and then return your left foot to the mat. Repeat this posture on the other side, taking rest on the floor in between if you want to.
- After five to ten breaths in Wheel or One-Legged Wheel, tuck your chin and bend your arms to lower slowly to the floor.
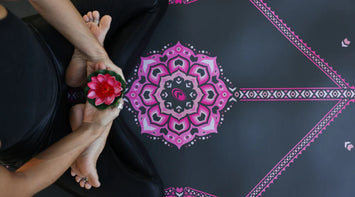
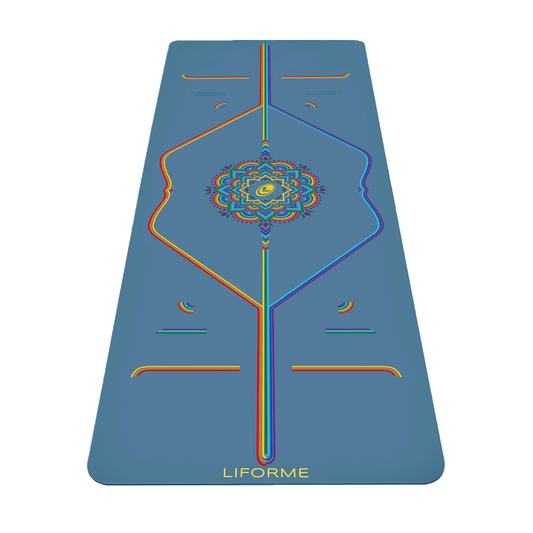
Featured Yoga Mat: Liforme Love Mat