Benefits of Warrior I
• Strengthens the legs, back, shoulders, arms and core.
• Stretches the hamstrings, intercostals muscles, chest, shoulders, and the all-important psoas.
• Improves balance and body awareness.
Instructions
1. Begin in Downward Facing Dog. On an exhalation, step your right foot forward to the inside of your right hand. Bend your right knee directly over your right ankle.

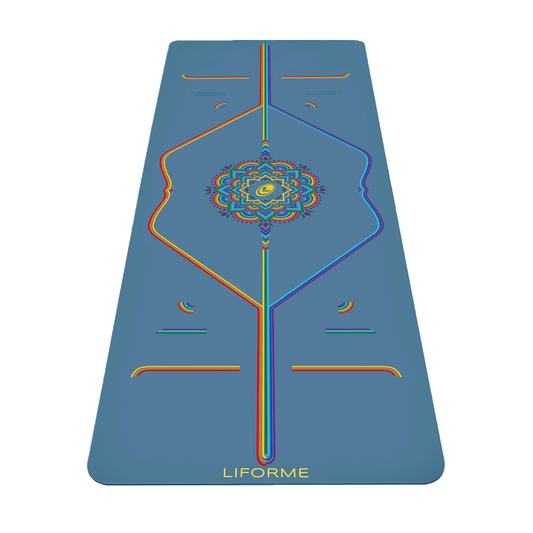
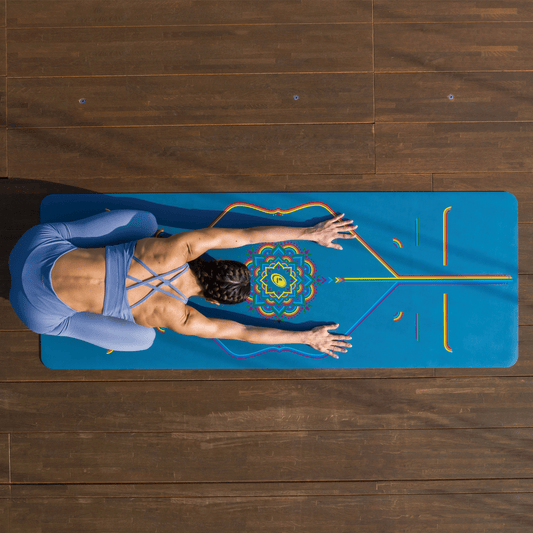
2. Pivot on the ball of your left foot to bring your heel toward the Central Line on your Liforme mat. Drop your left heel onto the mat using the 45-degree Line to gauge the angle that feels comfortable to you. For many people, the back foot at about 45 degrees works well but we may adjust this later to help square the hips forward.
3. If you’re going for the tightrope alignment, use the Central Line to make sure that your front heel aligns with your back heel. To go for more of a railroad track configuration, scoot each foot out toward the edges of the mat (away from the Central line), as far as you need to go to feel that space in the SI joint. This is the alignment with the greatest stability.
4. Once you have your feet set up, bring your hands to your hips and on an inhalation, rise up to stack your shoulders over your hips.
5. We’re pausing with the hands on the hips for a few breaths to check our hip alignment (you don’t have to do this every time but it’s instructive to revisit periodically). The idea is to direct both hip points toward the front of the mat like two car headlights so the hips are level and squared. Generally, the back leg needs to rotate strongly inward to bring that hip forward a bit. Make sure to keep both heels grounded throughout. If it seems like a good idea to step your feet a little wider at this point, go ahead. You may also find it helpful to narrow the angle of your back foot’s turnout here.
6. Bend your right knee so that it comes directly over your right ankle. Bring your right thigh as close to parallel to the floor as possible, bearing in mind that it takes time to build up the strength and flexibility for this.
7. Hug your thigh muscles to the bone on each leg to strengthen your foundation. Ground through both feet, paying particular attention to the left heel. Make sure the left leg stays straight and long throughout the pose.

8. Once you feel like your base is stable, inhale to lift your arms up. There are a lot of variations for the arm position as well. The pose is often shown with the arms straight, palms pressed together overhead, and the gaze up at the thumbs. This is one option, but it’s hard to relax your shoulders in this position and it can create an awkward angle for the neck. For many people, it’s much more comfortable to keep the arms parallel to one another with the palms facing but not touching. Then you can continue to move your shoulders away from your ears and take the gaze either slightly upwards or straight ahead. If the shoulders are particularly sensitive, try bringing the arms into a cactus shape instead.
9. Now that your arms are sorted, let’s talk about the spine. Once again, you have options. Warrior I is sometimes treated like a backbend but that can compromise the hip alignment that we have worked so hard for and crunch the lower back. Instead, take the opportunity to open the chest and take a slight extension of the upper spine. Keep your navel drawing gently toward your spine.
10. Once you’ve made all your decisions and calibrated your alignment, take several breaths to just be in the pose. No yoga posture is ever static. Constant fluctuations and adjustments are to be expected. Chances are that in a flow class, you’re not going to have time to focus on each part of the pose at such a granular level. That’s why it’s important to occasionally spend some time with this posture and get the alignment you want back into your muscle memory.
The steps described above bring you into one of the most accessible versions of the pose. Your teacher may instruct it differently and you may find that some other configuration works better for your body. We’re cool with that. Whatever alignment you choose, Liforme’s amazing grip and alignment guides are there to support you.
Love,
Liv x