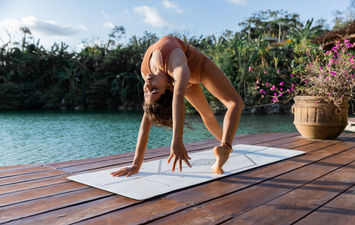
When you start doing yoga, you’re immediately introduced to a lot of specialised vocabulary for strange shapes and then asked to put your body into them. This can be intimidating, and we’d hate that feeling to be a barrier to starting this wonderful practice. We hope that reviewing the essential poses below will give you a boost of confidence to get onto a yoga mat near you sooner rather than later.
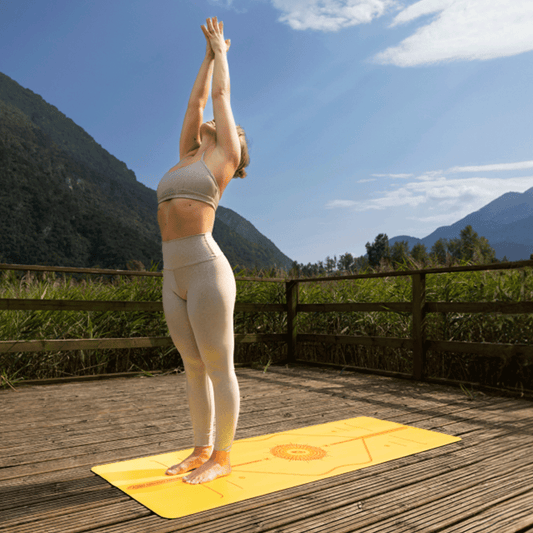
Even if you’ve never done yoga, you’ve probably stretched your hands up to the sky (we’d call that a variation on Mountain Pose) and done a Plank before, so we’re going to focus instead on a few key poses that are probably completely new to your body. Remember that no one expects you to get these right the first few (or many) times. At the risk of sounding super yoga, it’s all part of the journey.
1. Downward Facing Dog
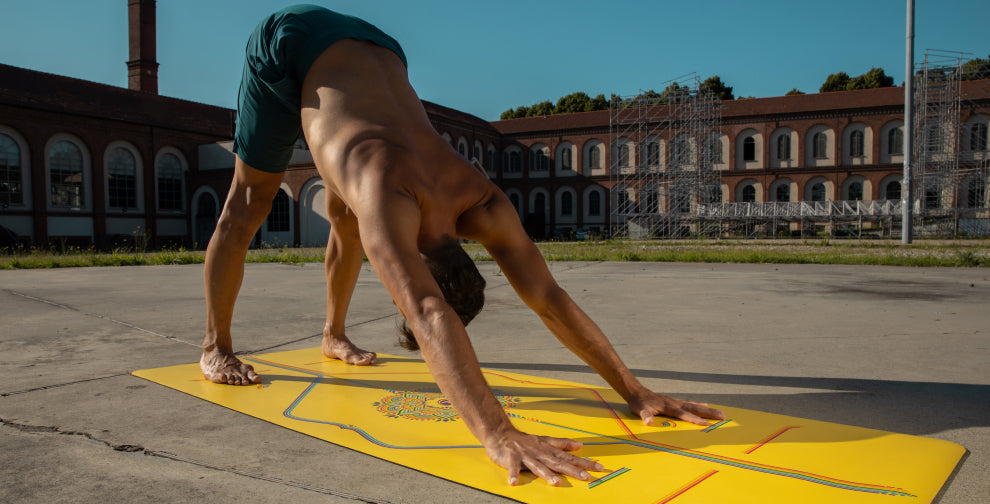
This is a big one. It’s big because it’s a familiar name but a very unfamiliar position for your body. It’s also big because it comes up so frequently. Beginners often guffaw at the idea the Downward Dog is considered a resting position because it can feel like hard work at first. As you build strength and flexibility, however, you’ll soon consider Dog a comfortable old friend.
Top tip: What makes Downward Dog a resting posture is learning to let your legs carry most of your weight. To do this, make sure your hips are up really high and your heels are releasing toward the floor. It can help to bend your knees slightly and really push the floor away with your hands.

2. Child’s Pose
Child’s Pose is your refuge, your escape hatch, your way out of any yoga situation. Teachers often say to take a break in Child’s Pose whenever you need to (and they mean it), but they don’t teach you how to do it. This pose is supposed to be comfortable, so if it’s not, adapt it to suit your body or take a seated position instead. Child’s Pose is also a really nice stretch and gives you something to do on your mat while you’re waiting for class to start.
Top tip: The classic posture is done with the knees spread wide while the big toes are touching. If this doesn’t feel good on your lower back, try bringing the knees closer together.

3. Warrior I and Warrior II
We’re going for a two-fer here because these poses are so often practised sequentially. Although they look somewhat similar, the particulars are actually pretty different and that tends to trip up quite a few beginners. So, let’s do a quick comparison.
First up, what these poses have in common:
- Face turned to the front of the mat.
- Front knee over front ankle.
Now the differences.
Hips and Shoulders:
- Warrior I: Hips and shoulder face the front of your mat.
- Warrior II: Hips and shoulders face the side of your mat.
Back Foot:
- Warrior I: Back foot perpendicular to the Central Line.
- Warrior II: Back foot at a 45-degree angle to the Central Line.
Heel of Front Foot to Arch of Back Foot Alignment
- Warrior I: Front heel and back arch on the Central Line.
- Warrior II: Feet wider apart, usually several inches to either side of the Central Line.

4. Extended Side Angle
This is another case in which yoga introduces a shape your body has probably not experienced before, and it’s also a kind of a fake-out of a pose. It can appear that the object is to get your bottom hand to the floor and that this must happen at all costs. But, we would argue, the primary objective is actually to open your chest up toward the ceiling. Unfortunately, these two aims are often completely at odds with one another. If you sacrifice it all to put your hand to the floor, that often means a total collapse of the chest toward the floor. If you go for a truly rotated and open chest, the bottom hand is often nowhere near the floor. So, what to do?
Using props, specifically a block under your bottom hand, can help you have it all. The block effectively raises the floor level, allowing you to keep an open chest. Alternatively, you can also forgo the floor completely and place your bottom forearm on your front thigh instead. If you’ve never tried this variation, you will be amazed at how much more room it gives you to rotate your chest open.
Top tip: Don’t worry about touching your hand to the floor. Instead, use props that allow you to keep an open chest.
Bonus Tip: Straighten your front leg and you’re in Triangle Pose! All the same guidance about opening your chest and using props still applies.

5. Cobra Pose
At some point during a vinyasa yoga class, you’re going to find yourself lowering yourself to your belly from a Plank position. A prone backbend usually follows suit, either Cobra or Upward Facing Dog. We’re going to put a word in for Cobra, because of its role in strengthening back muscles you didn’t know you had and counteracting the effects too much hunching over your phone. Resist the temptation to press into your hands to lever yourself into a more impressive looking backbend. It may look like more of a pose, but it’s not doing nearly as much for your back muscles. If your chest barely lifts off the floor, that’s fine.
Top Tip: Press the tops of your feet into the floor as you lift your chest. This cue may not make much sense at first but keep thinking about it as you do this pose and eventually it kicks on.

6. Tree Pose
Tree is often the first standing balance that beginners encounter and it can be a real eye-opener. You may remember standing on one leg with no trouble as a child, but if it’s been more than a few years since you last played hopscotch, you may be in for a surprise. Balancing, especially while trying to maintain good alignment, is hard! Even people who have cores of steel and do a lot of yoga have wobbly days.
Top Tip: Place your hands on your hips. Often there’s a tendency for the hip on side of your standing leg to jut out. You want to keep both sides even and facing forward.

7. Easy Pose (Sukhasana)
Yoga instructors often tell you to come to a comfortable cross-legged seat for meditation or to do some opening stretches, which can throw beginners into a panic. So, let’s be very clear: a comfortable cross-legged seat does not mean Lotus Pose! Not even close! It means something like Sukhasana, which is literally the way that feels easiest for you to sit.
Top Tip: It’s key to use props to make this seated position feel more comfortable. Your back and hips feel so much better when your knees are below your hips, so sit up on as many blankets or cushions as you need to.
Now that you’ve got a few of poses under your belt, head over to our Complete Beginner’s Guide for more info on how to start doing yoga today!